I’ve been meaning to post this for a long time. The way I make yogurt was inspired by Vaugh Tan (from a meet-up back in 2012!). The philosophy he shared, and to which I already, as a biologist, ascribed to, was to understand fermentation as something a community of different organisms do. For yogurt, different bacteria have peak activity at different temperatures, each eating different sugars in the milk matrix, preparing the matrix for the next bacteria as the temperature declines. That is why I choose wrapping the fermenting bugs in a towel and a natural reduction of temperature, rather than some machine that keeps the temperature at one setting.*
The recipe
I usually make yogurt 1 gallon at a time. Just simpler for me, and matches how much we eat. I also put the yogurt in Ball (or Mason) jars, but of course, you can put it into any container you are comfortable with. And, as most yogurt folks do, I get my starter from the previous batch; though, sometimes the wife buys some different yogurt and I mix that in as well.
Ingredients:
– 1 gal whole milk
– 4 heaping tablespoons of starter culture from the previous batch (one tablespoon per quart)
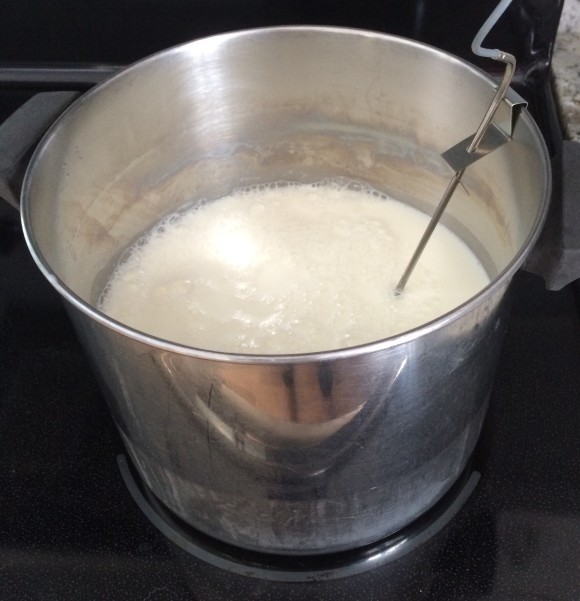
1) Heat milk
Pour milk in pot. Set to mild heat, set temp alarm to 75-77°C (or 170°F).
OK, call me crazy, but I read some weird suggestion to rub a cube of ice at the inside bottom of the pot to avoid scorching. It seems to work. I don’t think it has anything to do with cooling, of course, but I think it has to do with not pouring the milk into a dry pot, the water forming a layer (adhesion?) so the milk isn’t the only thing touching the metal. I don’t know. But it seems to reduce scorching.
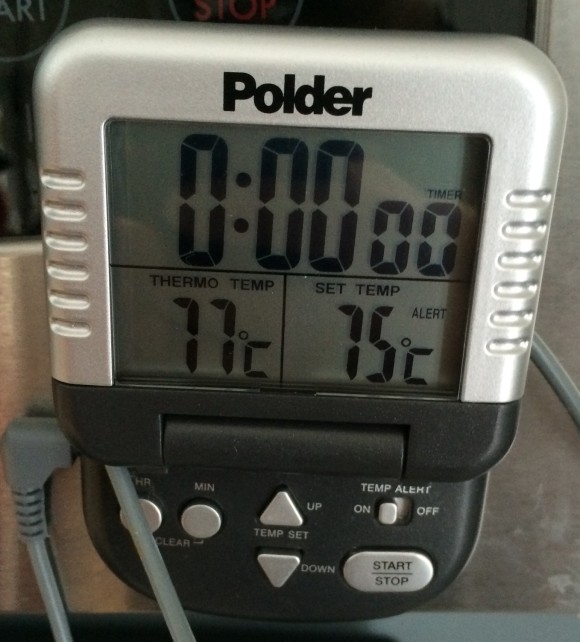
One other thing that I can’t suggest strongly enough: get a digital thermometer. I got this Polder from Amazon. I like it because it can do °F and °C and it has a temperature alert. As you can see, I use °C for making yogurt (I learned about bacteria only in °C; though I learned beer brewing in °F – crazy, I know). In any case, having the digital thermometer has allowed me to have very good control of the temperature and has facilitated production and improved quality and repeatability.
I set an alert to 75-77°C so that I don’t forget about the milk and let it boil over.

2) Cool milk
While milk is cooling, I prepare the jars and warm the starter (next steps).
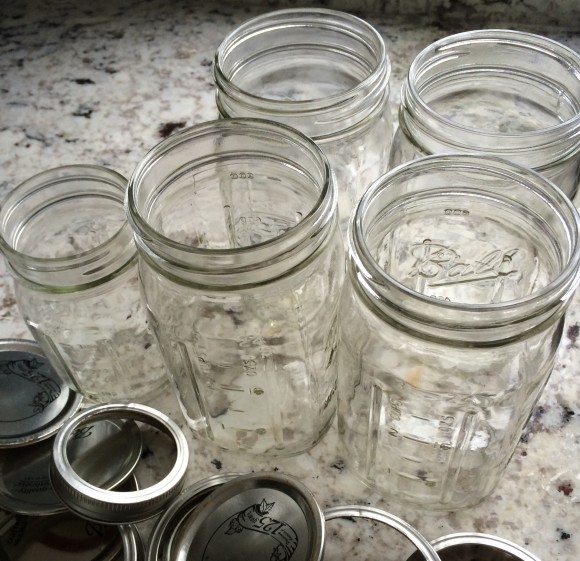
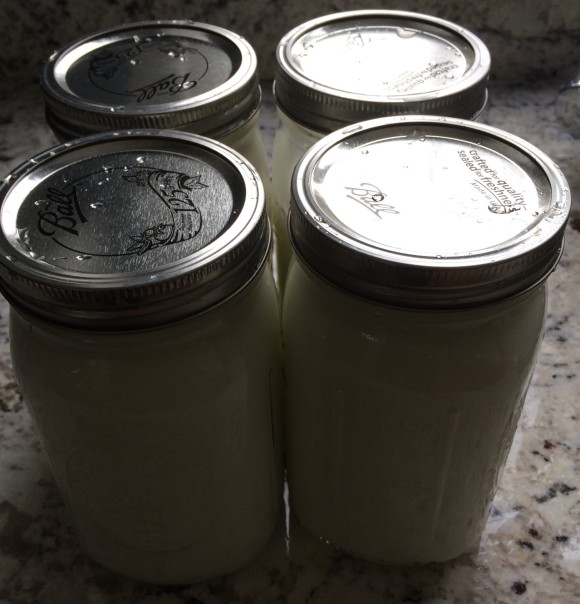
I usually use quart-sized Ball jars. You can also reuse quart-sized plastic commercial yogurt containers. Just make sure the containers were washed in a dishwasher.
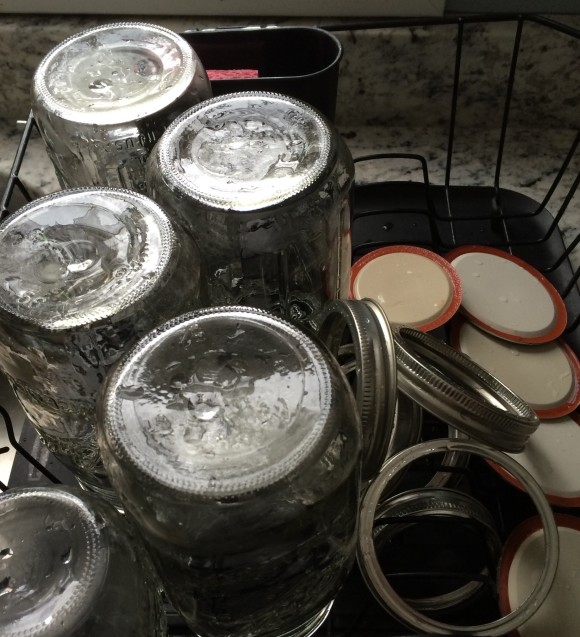
To prep the clean containers for yogurt, I give them a rinse with the hottest water I can handle and let them drip dry. For 1 gallon, I use four jars and have an extra smaller one ready for any overage. This works well, as we eat the yogurt from the larger jars and when we open the smaller jar, it’s time for a new batch.
Note: unlike when making preserved foods in Ball jars, I reuse the covers, so long as they are not rusted. I do this because the dominant bug is your yogurt bugs, and you’re not preserving things for months. But if that gives you the heebeejeebees, then do what works for you.
As the milk comes down to 55°C (130°F), you will want to bring your starter to temperature. I use 1 heaping tablespoon of starter (saved from the previous batch) per quart (therefore, 4 for a gallon of milk). Put the starter in a bowl, pull out a cup of the heated milk (I usually rinse cup before in hot water) and let it cool enough to handle (less than 60°C/140°F), then add to starter, to warm it up. Gently mix to smoothness.

5) Inoculate milk
You will inoculate at 55°C (130°F). When your milk is around 55C, add the bowl of warmed starter, gently mix it in.
6) Pour into container
As soon as you can, add inoculated milk to your containers and close.
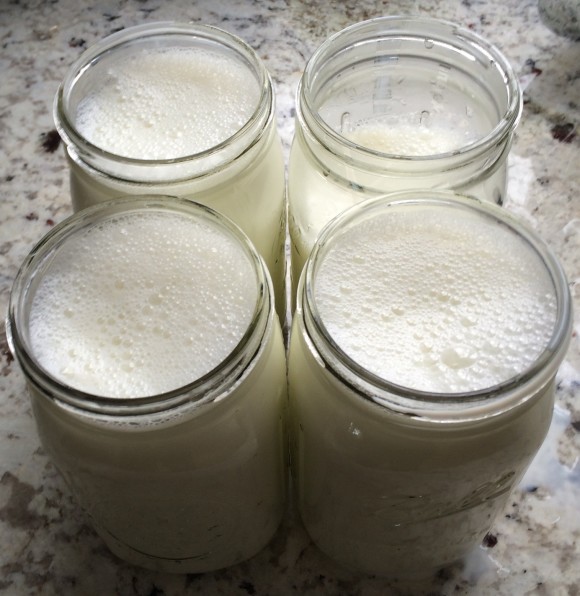
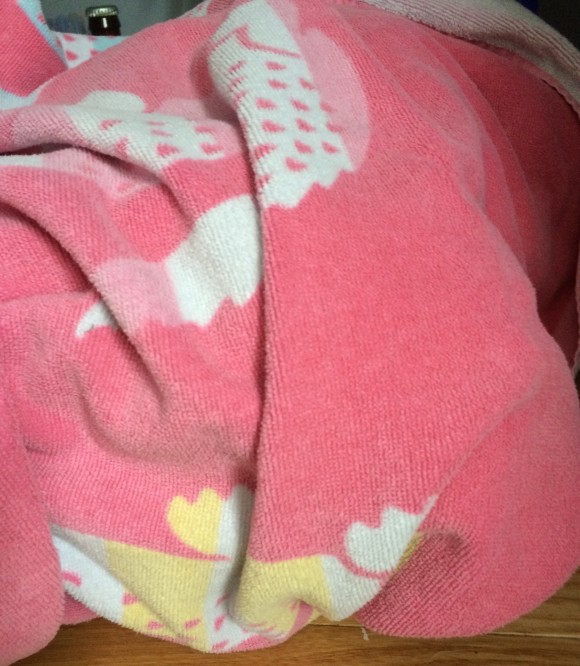
Wrap containers together in a towel, and store in a place they won’t get disturbed for at least 9 hours. Wrapping them together let’s them share the heat, the towel doing enough of a job to keep the heat in and to let it fall gradually (remember the bacteria having their own peak activity temperature?). I usually leave the containers overnight, in a closet or cabinet (note home brew peeking from behind towel).
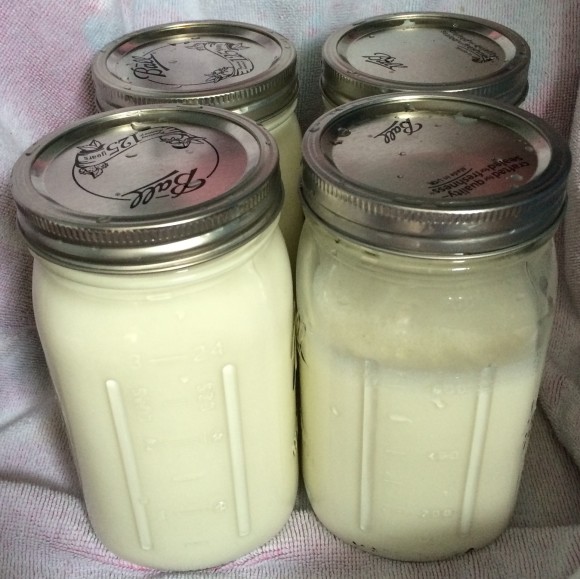
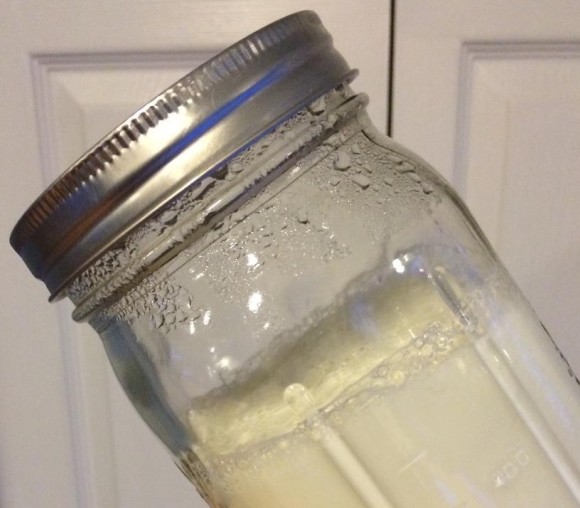
I usually tip the jars to see how well the yogurt set. And, for me, one of the most exciting parts is that in the morning, the jars are still warm from the fermentation activity.
You could enjoy them before putting in fridge, but I always put them in fridge for a few hours to firm them up before eating.
Enjoy!
And remember to save a bit for the next batch.
Tips:
– The digital probe thermometer is key. Mine’s a Polder Digital In-Oven Thermometer – $25 from Amazon. I use it for more than yogurt, such as for grilling and making home-brew.
– I started my culture with Stoneyfield which has 6 strains in it and have since added Chobani and Fage along the way. You can use any yogurt with live cultures (it’ll say on container); though, my inclination is the more strains the better.
– Anything touching non-inoculated milk and not being heated I rinse in hot water. You don’t need to be sterile, just be clean. The cultures work fast and overwhelm anything else. Indeed, like I said, the containers should be warm when you check them at the end of fermentation. Evidence of lots of bacterial activity!
*How others make yogurt: I saw this video yesterday and could not figure out why one would spend $50 on an incubator timer when a simple towel would do.