Isn’t making one big jam session?
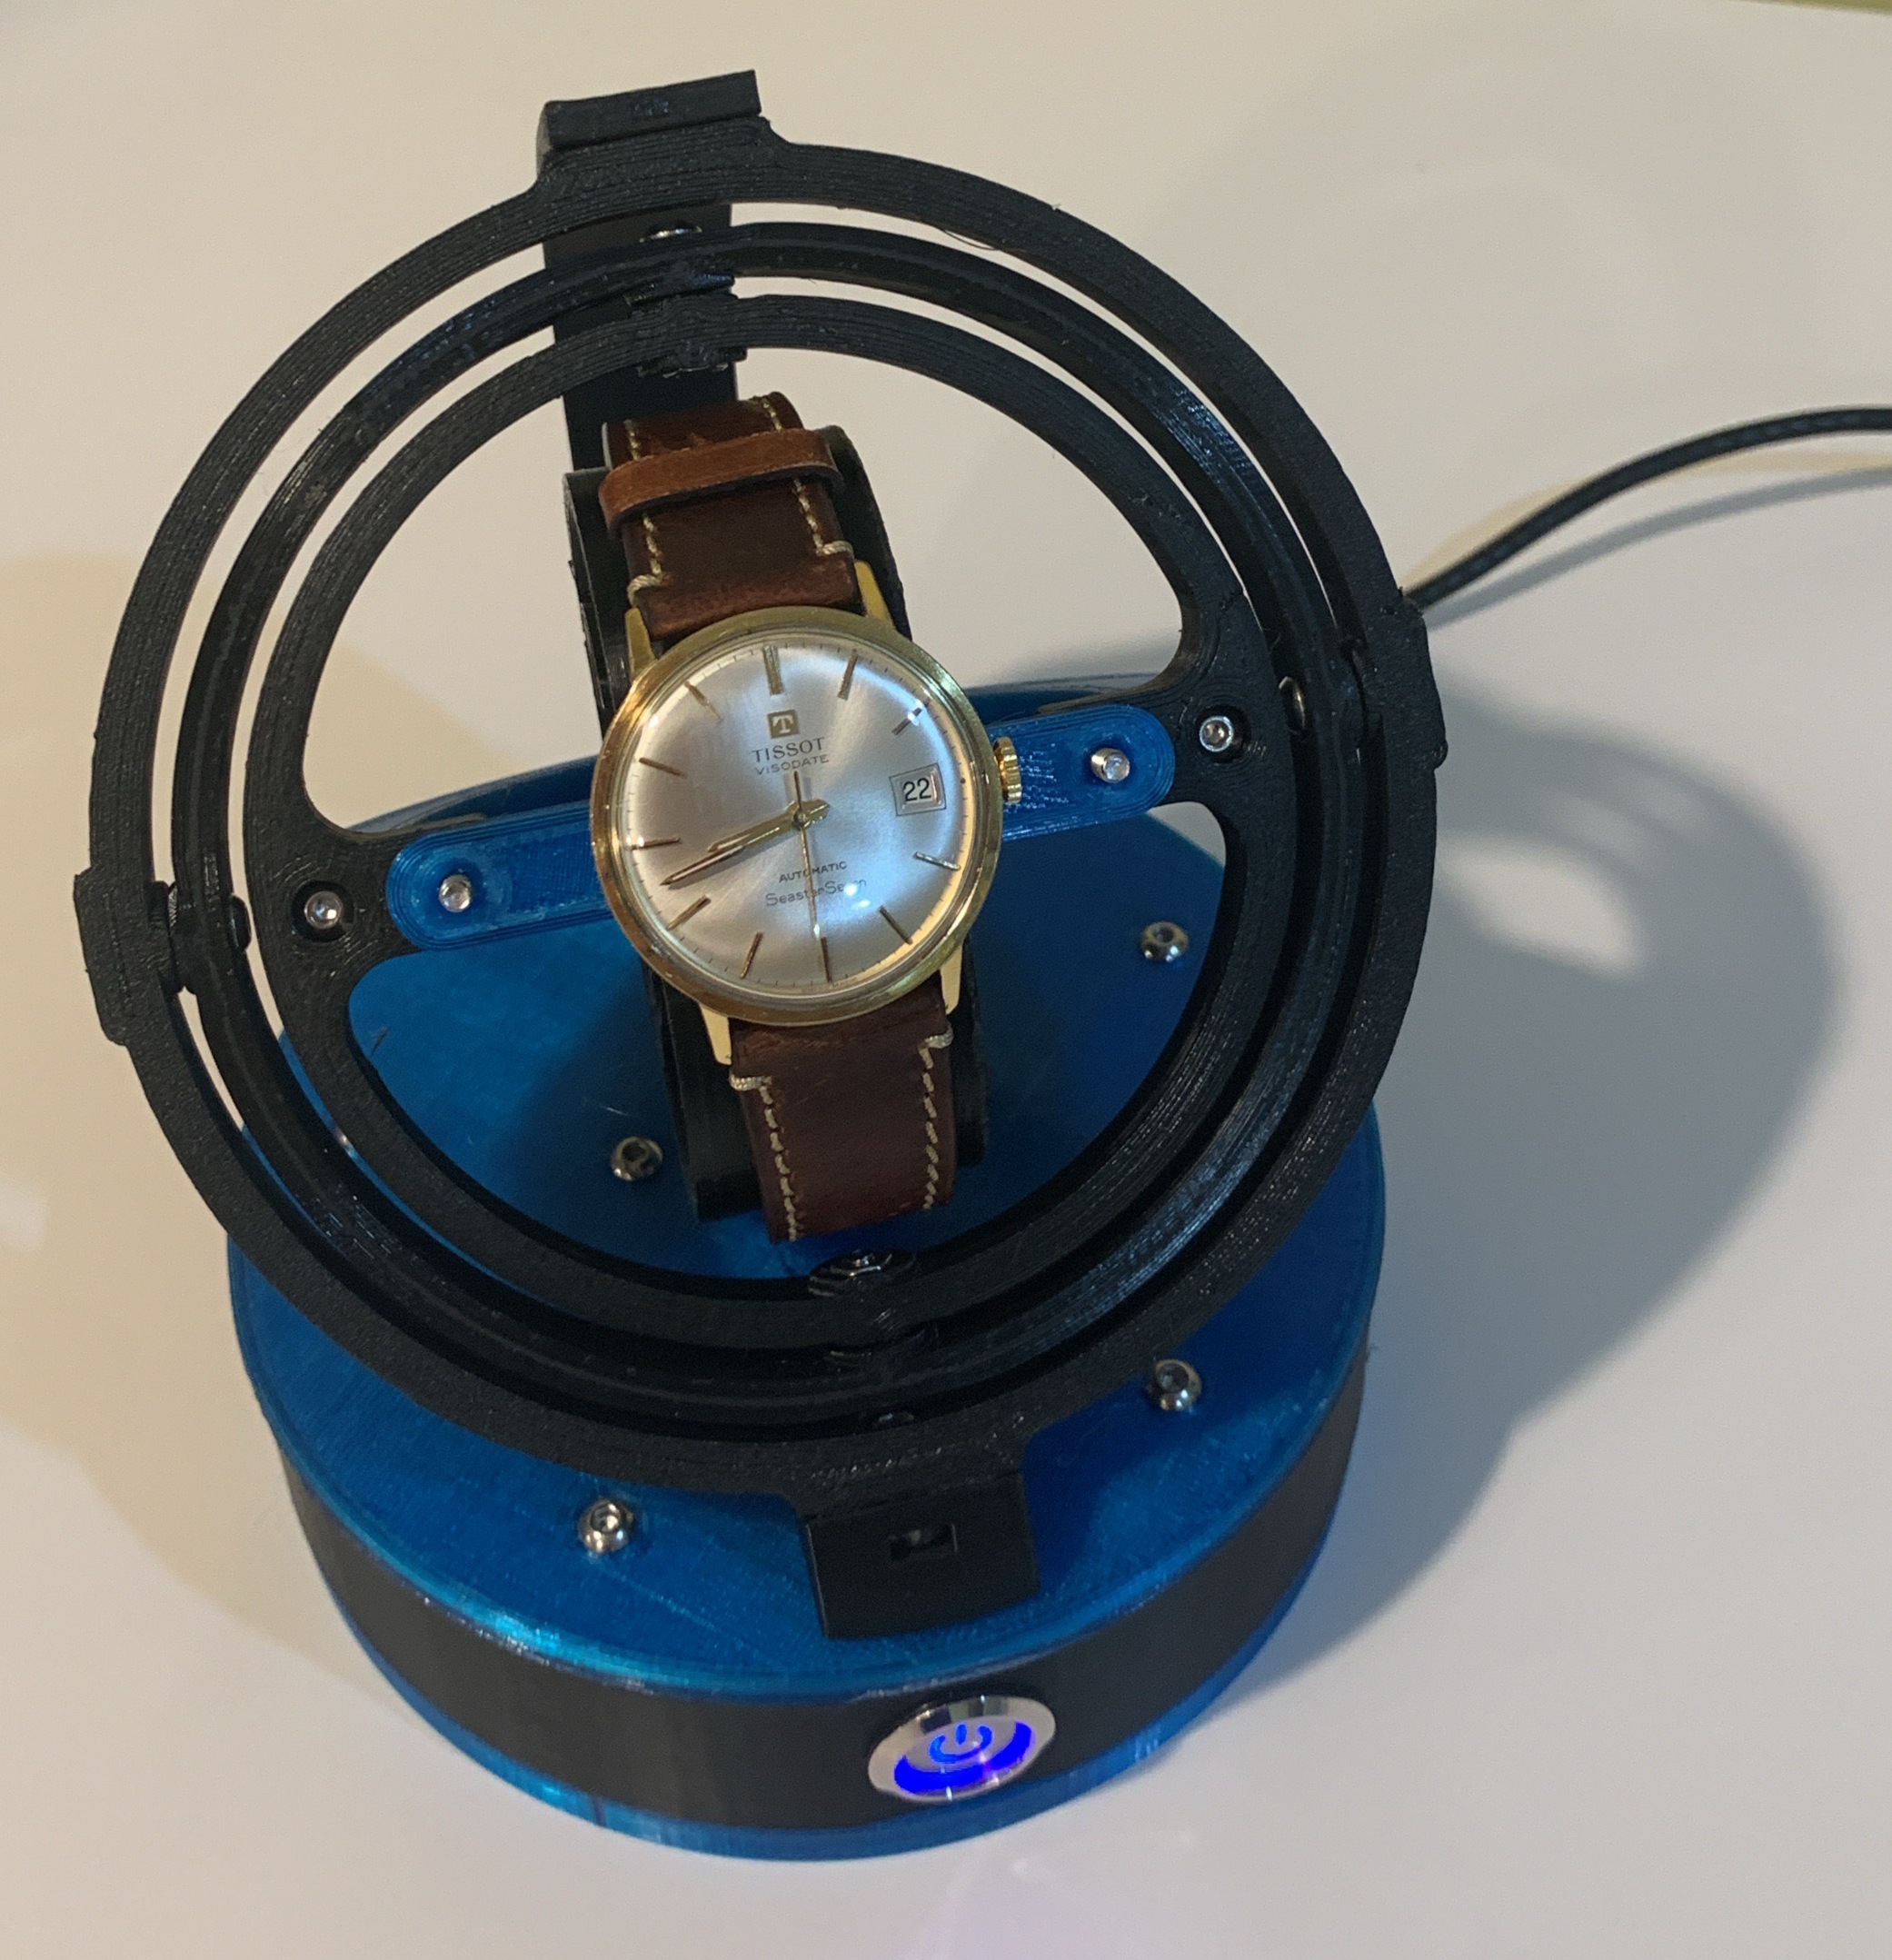
Many decades ago, my mother bought my father a Tissot Seastar Seven. A very simple watch, which also has its own pendulum to keep it wound as the wearer moves about. I used to use it a lot. And it had an activity tracker sort of vibe: if I spent most of the day sitting around, the watch would eventually stop.
Alas, the crown was damaged and I didn’t use it for many years. But after my father passed away, late last year, I thought I’d get it fixed, in his honor. I knew the watch would have to compete with my daily wearing of my Apple Watch, so I knew I’d want to get some sort of watch winder, so that it would keep time and be ready to wear when needed.
This wouldn’t be my first watch winder, nor the last. I had built a watch winder for my For All Time project. And my father left another, fancy, watch, also a self-winder, for my kids, so I felt that there would be yet another watch that would need a watch winder.
Spinning in a fancy way
I didn’t want some boring spinner like I had to use in my For All Time project. I had seen some gyro watch winders that were really cool. After some research, I found this one by Bruno Esgulian. And I’d seen many versions to get some thoughts on the color pattern.
So I bought the model from Bruno and the parts on the list that I didn’t have and got printing the whole set up in black and transparent blue PETG.
No so fast
The buttons I got didn’t fit into the hole in the original model, leading to some funny attempts by me to fit it and ruining one of the two buttons that came (I had bought a 2-pack because I eventually was going to build a second winder, right?).
I had to modify the model to enlarge the hole a tad and print it again. And that worked.
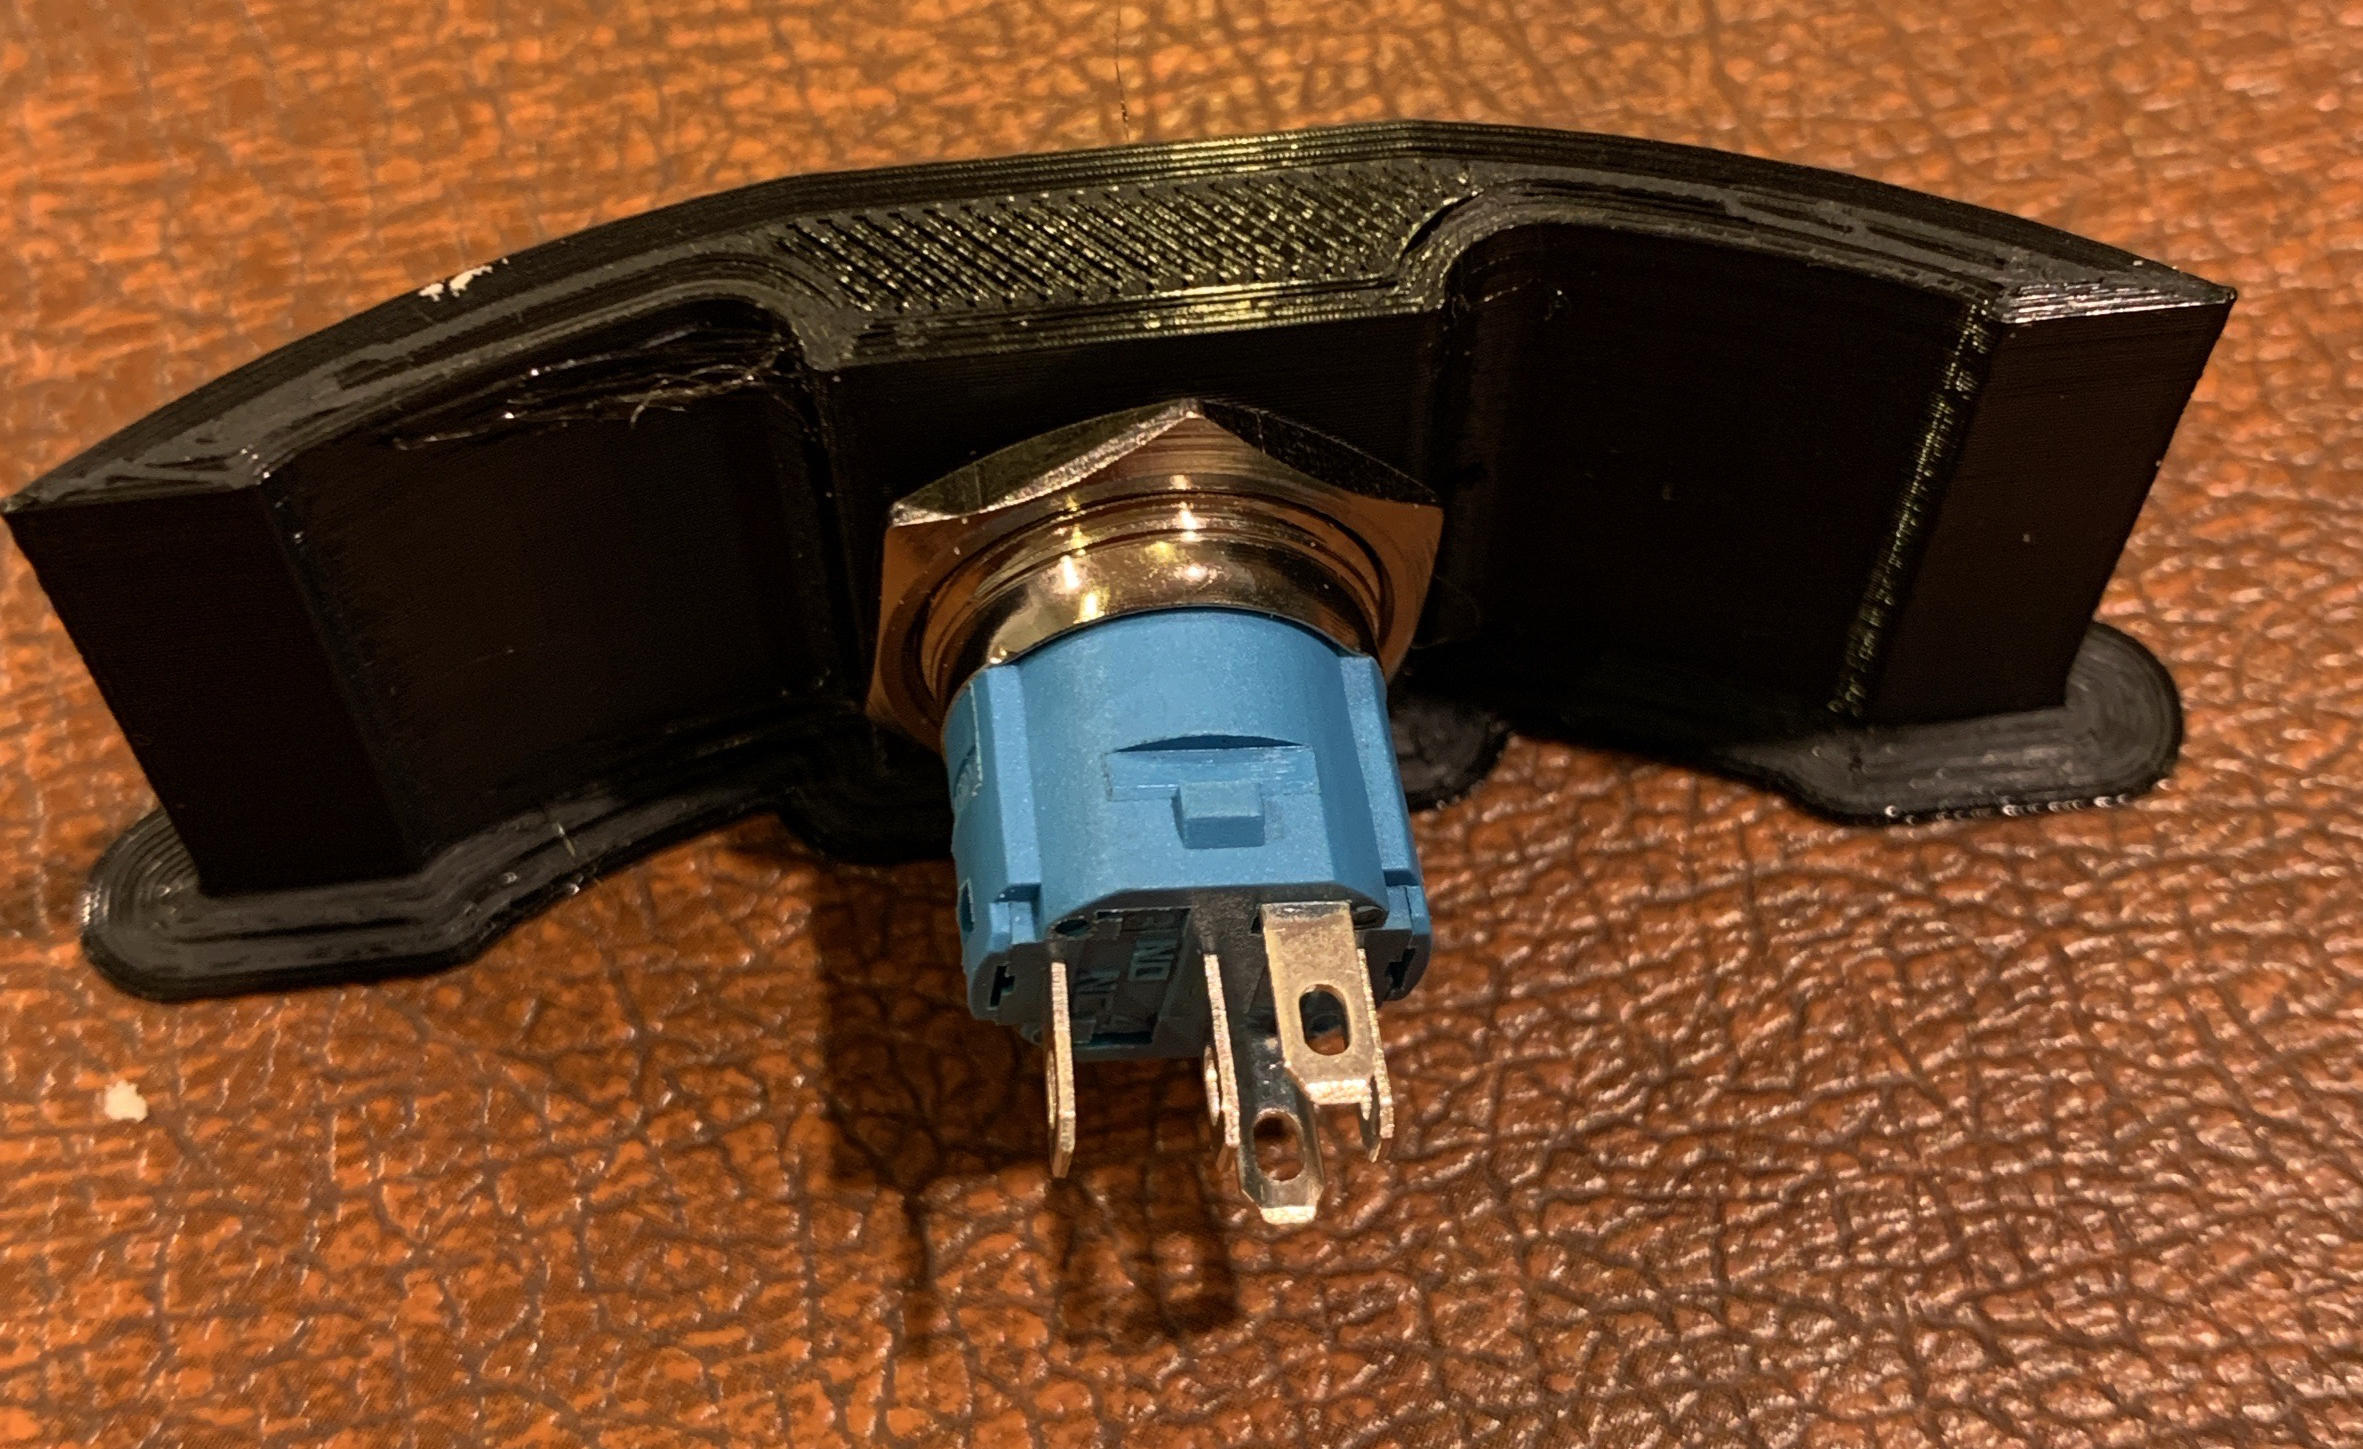
An aside: I don’t know about you, but I regularly do test prints of specific sections of my models so I don’t print a whole model and potentially waste time and materials. On the right, I printed just the section of the base that had the modified button hole.
The second modification was the code. I wasn’t too enthused with the code that the maker was offering, so I made my own from scratch (well, not from scratch, I was reusing some code from the For All Time project, so I knew what I wanted and what to do).
A third modification was the power cable. I wanted to be able to power it, switch it off from the button on front for when I’m using the watch, and still be able to program the winder in case I had to change a parameter.
For that, I did some careful surgery on a USB cable, breaking out the power to be controlled by the button and keeping the data wires intact. Worked really well.
Drifting
One thing with winders is that you need to find the right amount of rotations so as to not overwind or underwind, which show up as the watch getting ahead or behind the time, respectively.
But as I was tweaking how many rotations per hour, I noticed that the stepper, not so accurate (there’s a reason the library is call “Cheap Stepper”), was slowly drifting out of true at the end of the rotations (that is, not returning to home, off by a bit each rotation).
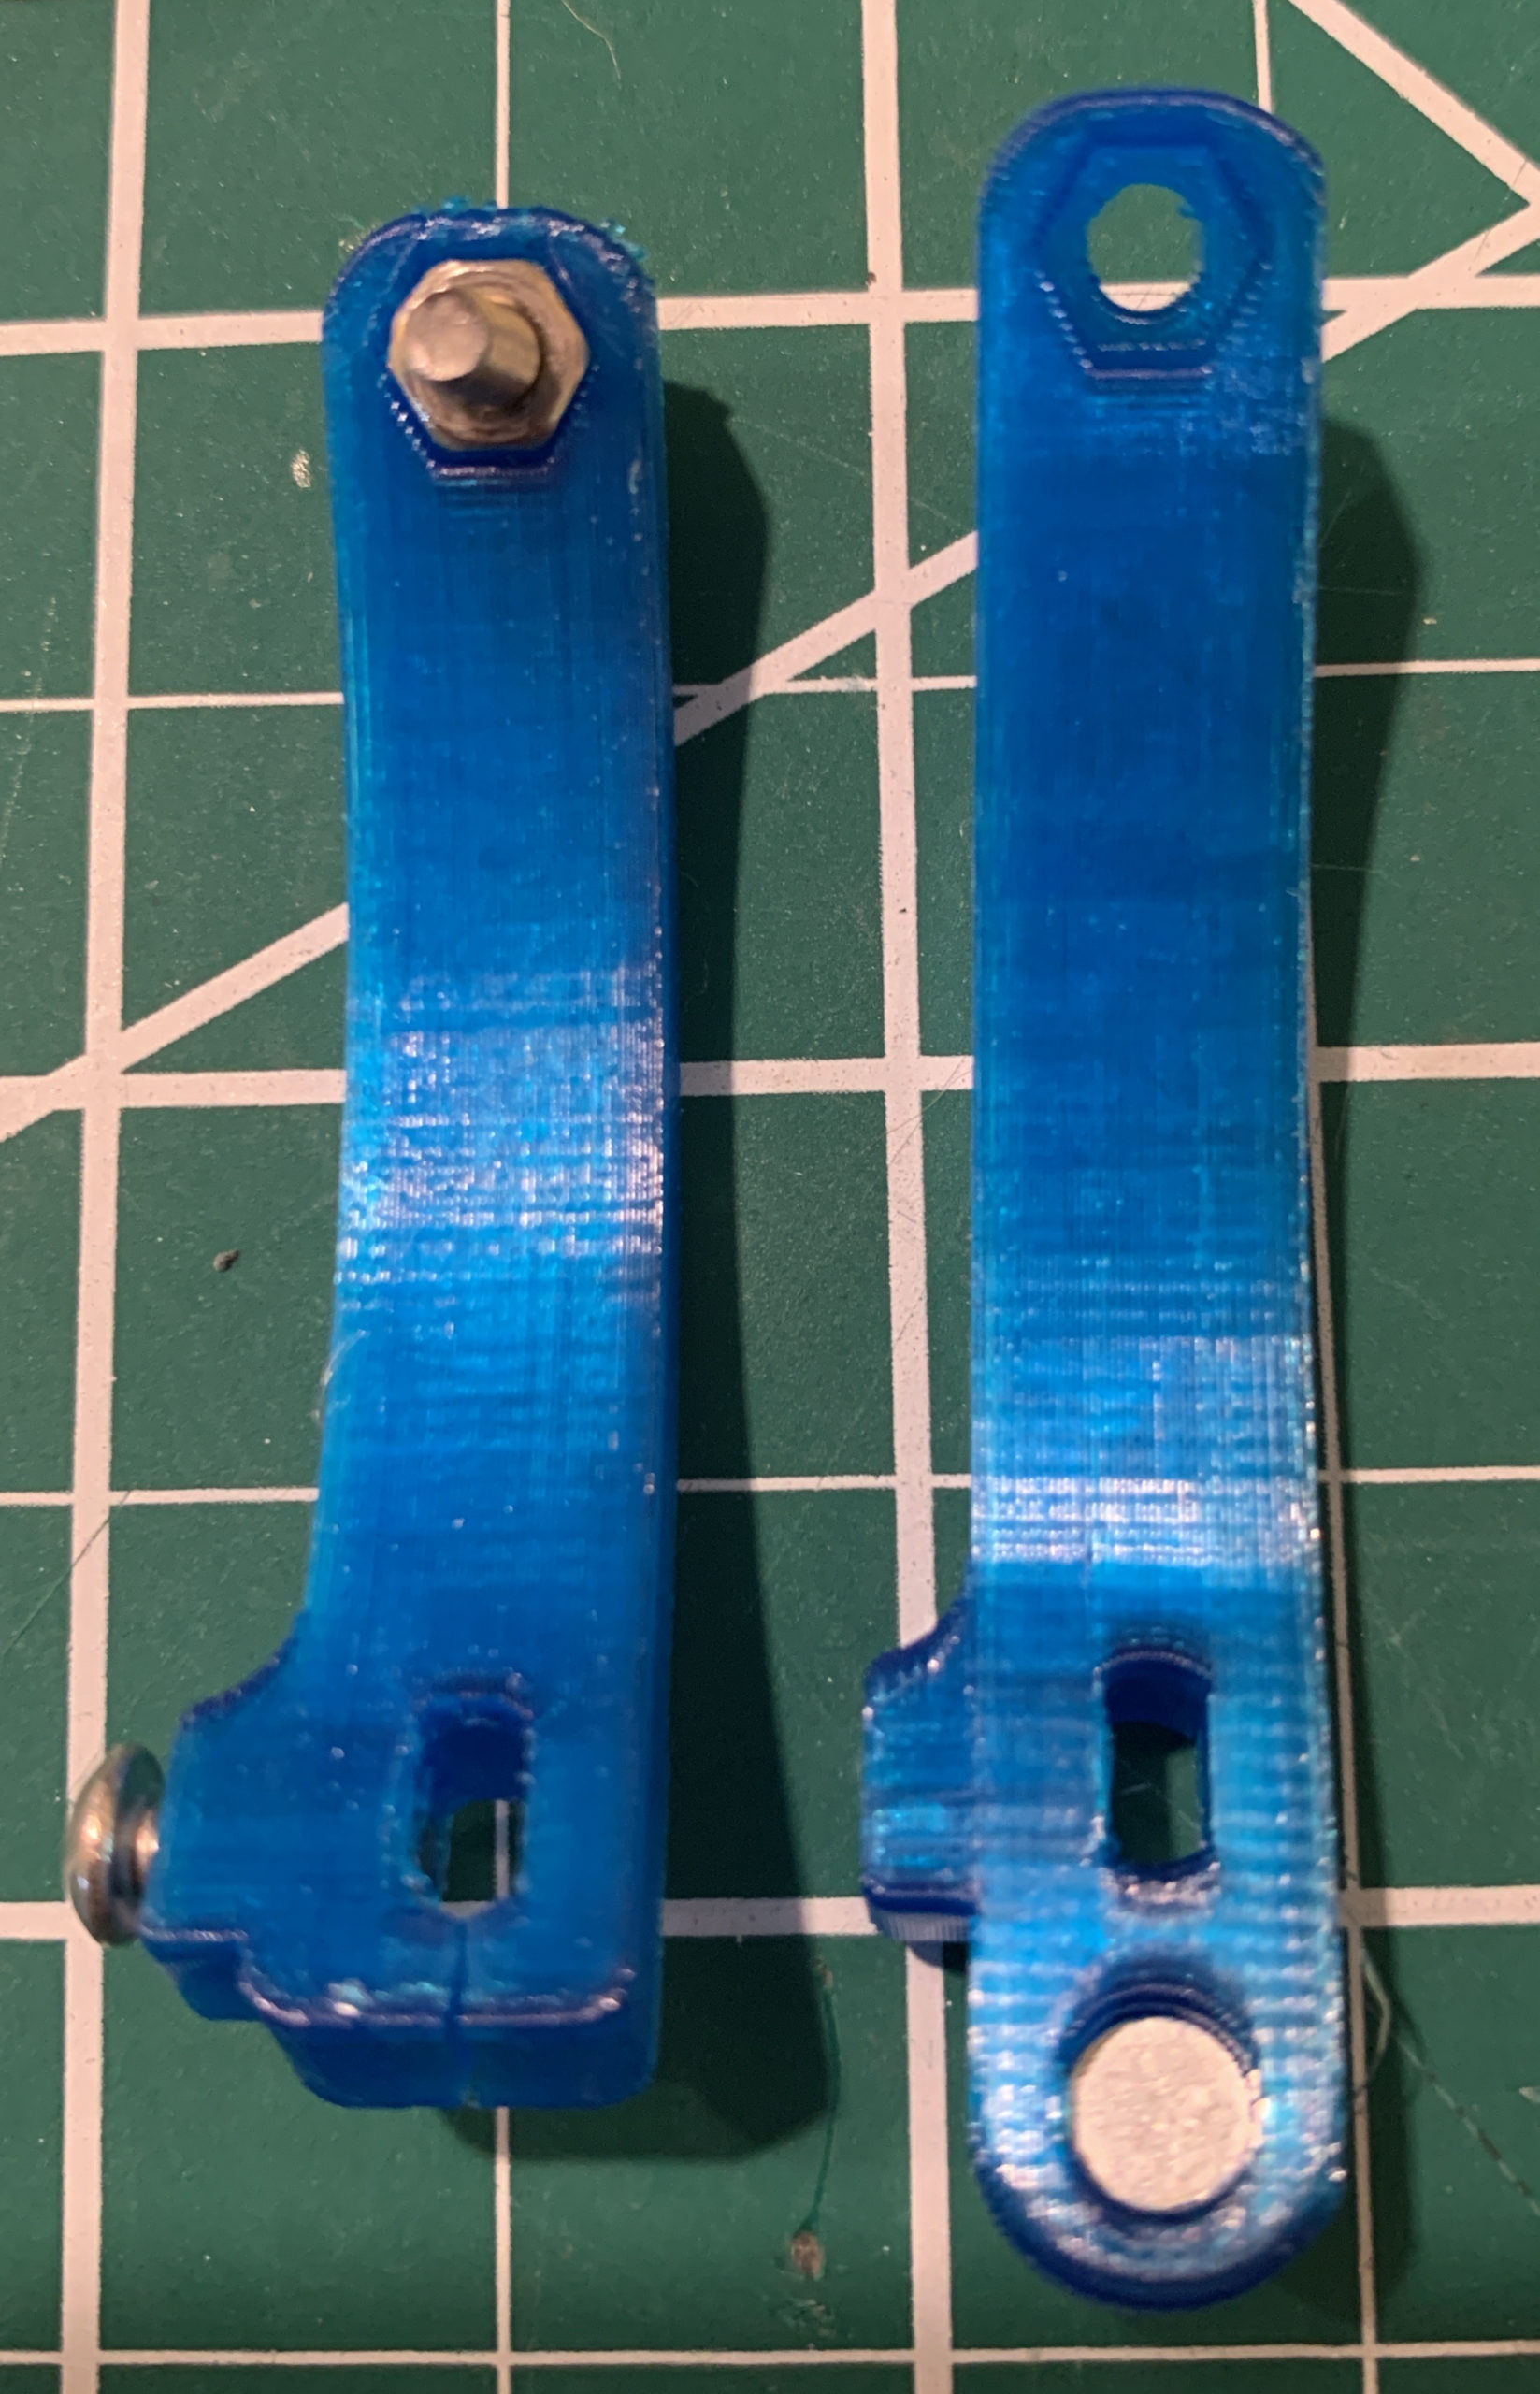
Not aesthetically pleasing. So I needed to design a homing mechanism.
I made a modified spinning arm with a place for a magnet (image right), and used a reed switch to sense homing (and borrowed the homing code from my For All Time project). Worked like a charm, and the gyro is now always spot on.
With that, I was able to tweak the rotations, and now the watch is always wound and keeping time, ready for me to wear.
In the end, what I thought was going to be a straightforward build, turned out to require a bit of ingenuity and modification to get it to work just how I wanted.
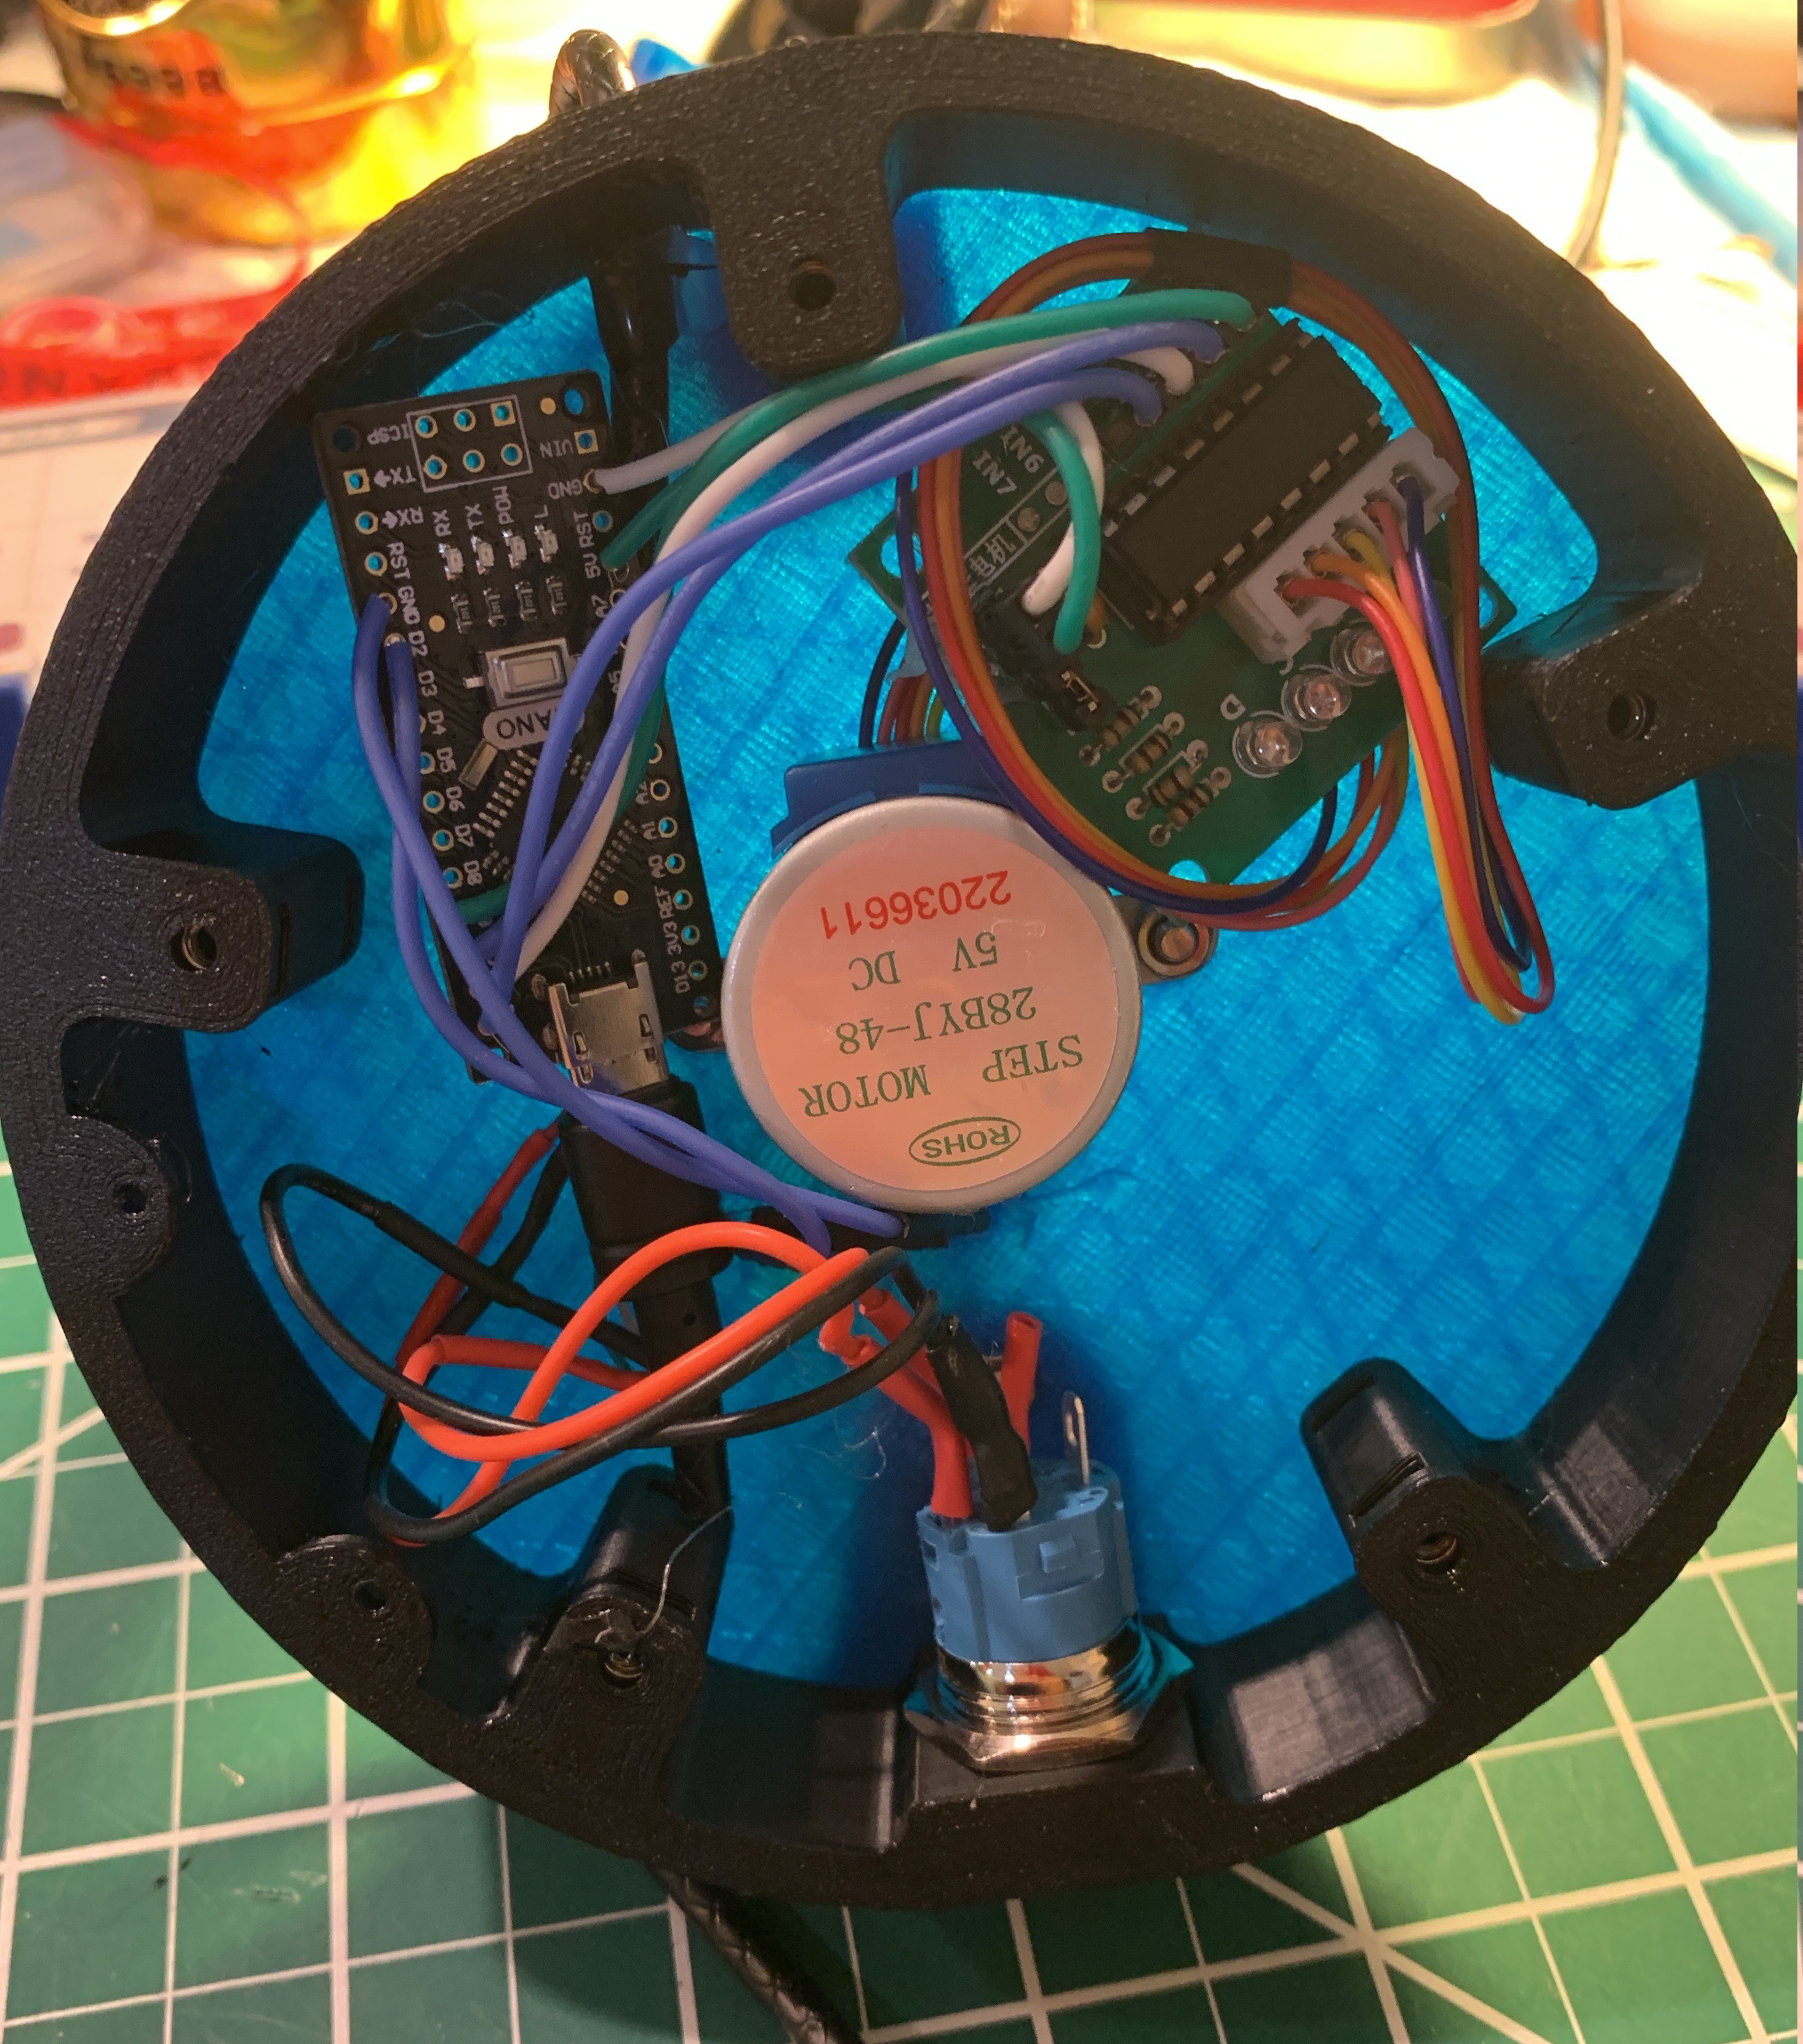
The image to the right shows lots of the parts that went into the base. The heart is an Arduino Nano. Then there’s a cheap stepper motor and driver, you can see the blue wires of the reed switch go between the button and the motor. And there’s a nifty power button that is on-off and glows blue when on. One other thing: as the blue covers were translucent, I pointed the Nano and the stepper driver downwards, so as not to shine their LEDs up through the top cover.
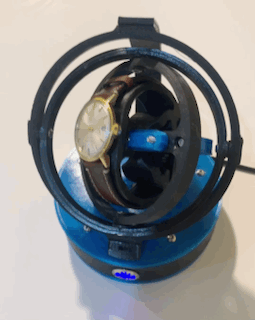
[BTW, the sharp-eyed might notice that I have the USB cable coming out the top of the base instead of the bottom. Yes, for some reason, I usually end up assembling things backwards or having to repeatedly disassemble for some stupid reason. Rest assured, all is good in the final version.]
All that jazz
One of the great things about making is not just all the projects out there that you can download and build. The great thing is that there is always room for tweaking, re-purposing, or modifying to fit your needs. Indeed, many of my projects are exactly that – just look at some of the projects from this challenge.
The process feels like one big jazz jam session – everyone riffing off others, weaving in their own voice, making something new and surprising.
You don’t need to follow the project to the letter, nor do you have to do it all yourself. Just go out there, find something you like, build from there, and join the jam.