I was inspired by this clever little Valentine’s Day card from the delightfully creative Charlyn (left), made with a wee Trinket M0 (a fave of mine), Neopixels (blikenlights!), laser cut parts, a 3D printed case, and rechargeable battery.
Alas, I don’t have a laser cutter, so doing a similar cool design was sorta out of my reach.
But then I took a side step in my head and got a brainwave to do something similar on my 3D printer. And I could mount it all into an Ikea frame I had left over from my lithophane project.
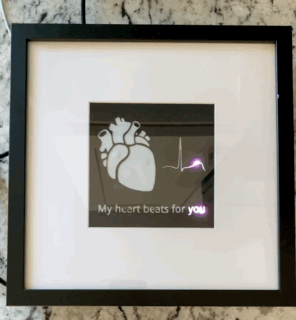
Then I started thinking of my heartbeat, and that I always wanted to do something around it. Y’see, my wife has the same number of letters in her first name to match the PQRST of an EKG trace – hence there’s a connection between my EKG and her – my heart, indeed, beats for her.
What’s more, she actually has a Kardia I’ve used before to capture my own EKG.
The build
I found a design from an amazing illustrator* for a heart that had some anatomic verisimilitude – with a PhD, DVM, and MD in the family, anatomic verisimilitude is how we roll.
Then I captured my EKG and calculated all the timings of the peaks (PQRST, remember?).
I edited the graphics of the heart and the EKG of a single heartbeat thru Inkscape to get them into an SVG I could import into TinkerCAD.
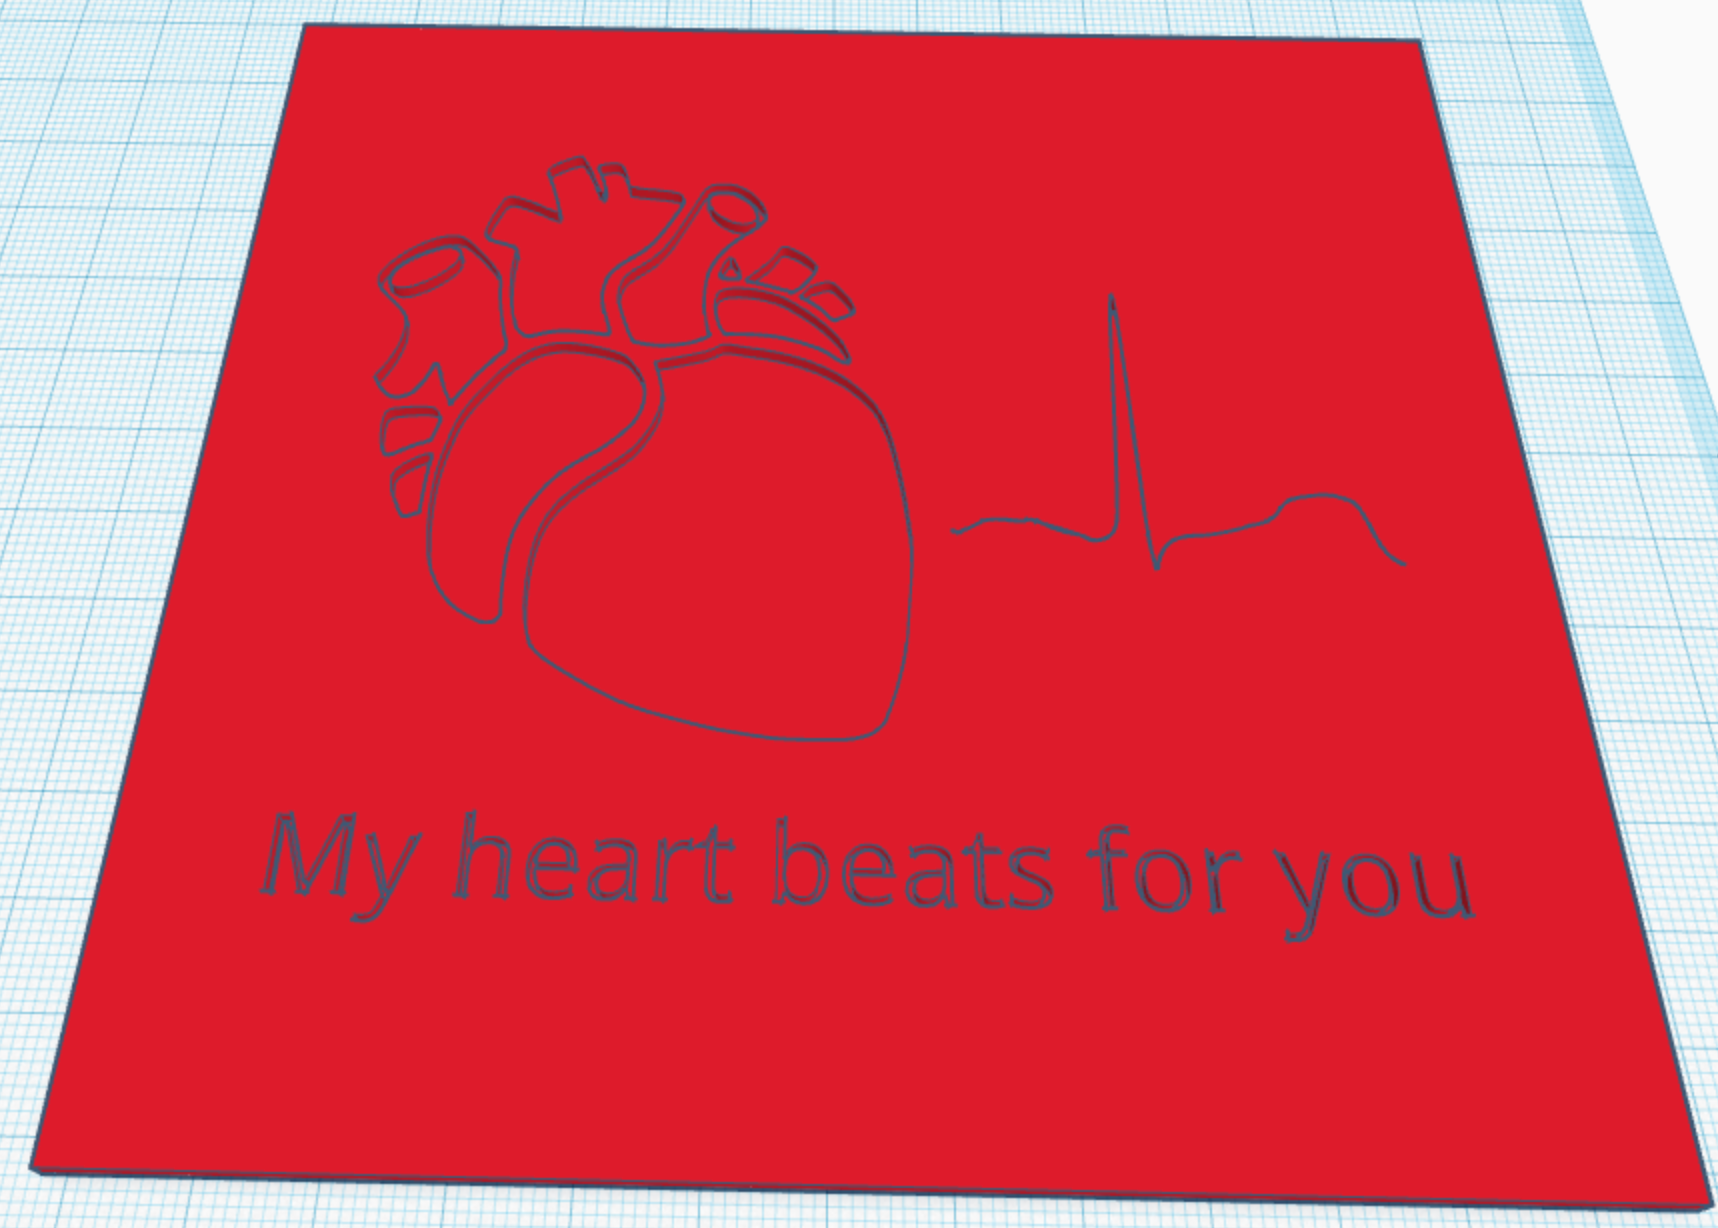
Then I built a simple model with a hole the shape of the heart, the trace, and “My heart beats for you” just 0.5mm up off the bottom of the model. The intention is the first 0.5mm is translucent and the rest of the model is a black mask.
Test models helped me refine the final print, and I ended up using white PLA for the bottom and black PLA for the top.
Prototyping
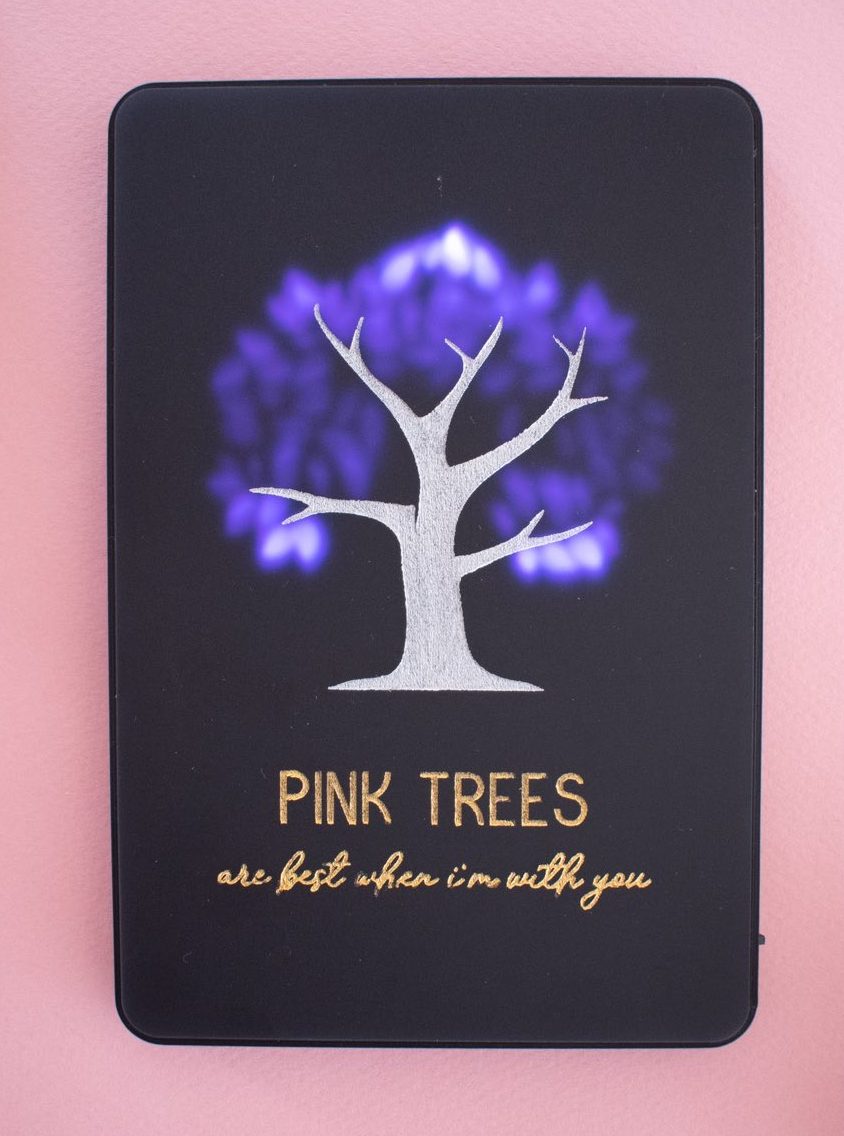
I like to do tests as I build something. Helps me try parts out without having to do the whole thing. For example, I did a tiny print of the heart to see how it looked with light from behind. To improve the process and see how different colors looked like, I practiced the two-tone filament switch with test prints, even though I’d done them before, such as in my Tree of Life.
With the code, I have a CircuitPlayground Express I normally use to prototype Neopixel code. While things printed, I was experimenting and refactoring the code, such that when I was ready, I was able to just copy and paste it, and then tweak it, for the QtPy I ended up using (actually, a QtPy Haxpress I had made a long time ago).
Let there be light
This is a project meant for lights – Neopixels.
The idea was the PQRST parts of my EKG would light up in sync with the parts in the heart (so P would light the atria, R would light the ventricles) and the words (see, same number of words as PQRST). What’s more, when the ventricles light, the heavy dub of the heart’s lub-dub, “beats” will light too (OK, so didn’t plan that one, was a coincidence).

When I do these pixel constructions, I print a guide image and use double stick tape to help me place and connect the Neopixels. Right, a view of the Neopixel strand, glued to the back of the print, ready to go into the frame.
The iffy GIF at the top of this post shows the final build, with the print and pixels mounted in the frame and going thru a single beat of the heart, MY heart.
My mom of course, showered praise on me – what a great mom. But the really hard one to please was my wife, for whom this was designed, and she was delighted. And I was able to surprise her as she has ZERO interest in my printing and soldering and coding. Haha.
Blemishes
What was really fun with this project wasn’t that it was the first mixed-media microcontroller-based project that I’d made in a while. The real fun was the errors and blemishes that revealed new opportunities to learn.
Stepper motors: For example, I normally am near the printer when the pause for filament swap happens. But one time I noticed the print head sag a bit and I had to try to recover (which didn’t work). But then a subsequent time, it did it again and the print head ground into the print and print bed.
Thinking my printer busted, I did some research and learned that the stepper motors have a time out for how long they hold their position. The two times my print head sagged were times I was NOT near the print when it paused and had tried to do the filament change long after the stepper time out.
Now I know, and have changed the timeout in my pause script in Octoprint, as well.
Filament tangle: I also had the filament get tangled and stuck in the spool. Kinda has been happening on a few of my spools, but I’m usually around to release the tangle. I knew the tangling was related to the winding of the spool. But I didn’t realize that there were ways to avoid the tangling.
Gcode: And challenges in making the filament swap go smoothly had me learning about Octoprint scripts and tweaking gcode. GCODE! That was a rush when I felt like I had leveled up in 3D printing, haha.
Animations: I also wanted to animate the pixels to fade, rather than turn on and off at one brightness. So I spent some time trying to animate the Neopixles to fade. But there was a lot of flickering. I think CircuitPython was too slow for the speed of animation I wanted. But was truly fun figuring it out and trying to do the animation.
In closing
This was a fun project. I applied learnings from previous projects, learned new skills, and got deeper into some domains.
And the process of making, figuring things out, watching something being created, and learning – that’s a rush.
*Hm, I have no problem buying designs, which I do often with 3D models, but didn’t know what to do here. Felt wrong just downloading the image and using it, even with all the ‘fair-use’ thinking. So I bought a sticker to put on my laptop. The first sticker I’ll put on it. Gonna be a good story-starter.
3 Comments
Comments are closed.