This month*, with impending graduations of some family members, I wanted to do something that I could give as a gift. I knew I wanted it to be an image, and, with some recent successes of mine with PCB art, I was considering doing some sort of PCB image gift thing. Alas, I really wasn’t motivated to do it, so had to consider something else.
A while back I had seen 3D-printed lithophanes. The whole process, though, seemed quite convoluted and specialized that, at the time, I was turned off. Nonetheless, this time around, I did a wee look again to see what was out there and found this incredibly simple and useful site, 3dp.rocks.
In no time, I had uploaded a pic, futzed with the settings, and downloaded a model. Then, into the workflow to get it printing.
What’s a lithophane?
Lithophanes originated in the 19th century France and were all the rage. Porcelain was etched from behind in a way that light shining through showed an image. Thicker parts were darker and thinner parts lighter. Likewise, one can print something with varying thicknesses and when held to light it makes an image.
Little things
Of course, I soon realized that there was more than just converting an image. Since I was shining light from the top of the print to the bottom, which was flat and featureless, I needed to flip the image. Also, I had to make sure I was chasing the right polarity (negative or positive) and had 100% infill (otherwise the fill pattern shows). Yeah, I made all these mistakes.
Framed
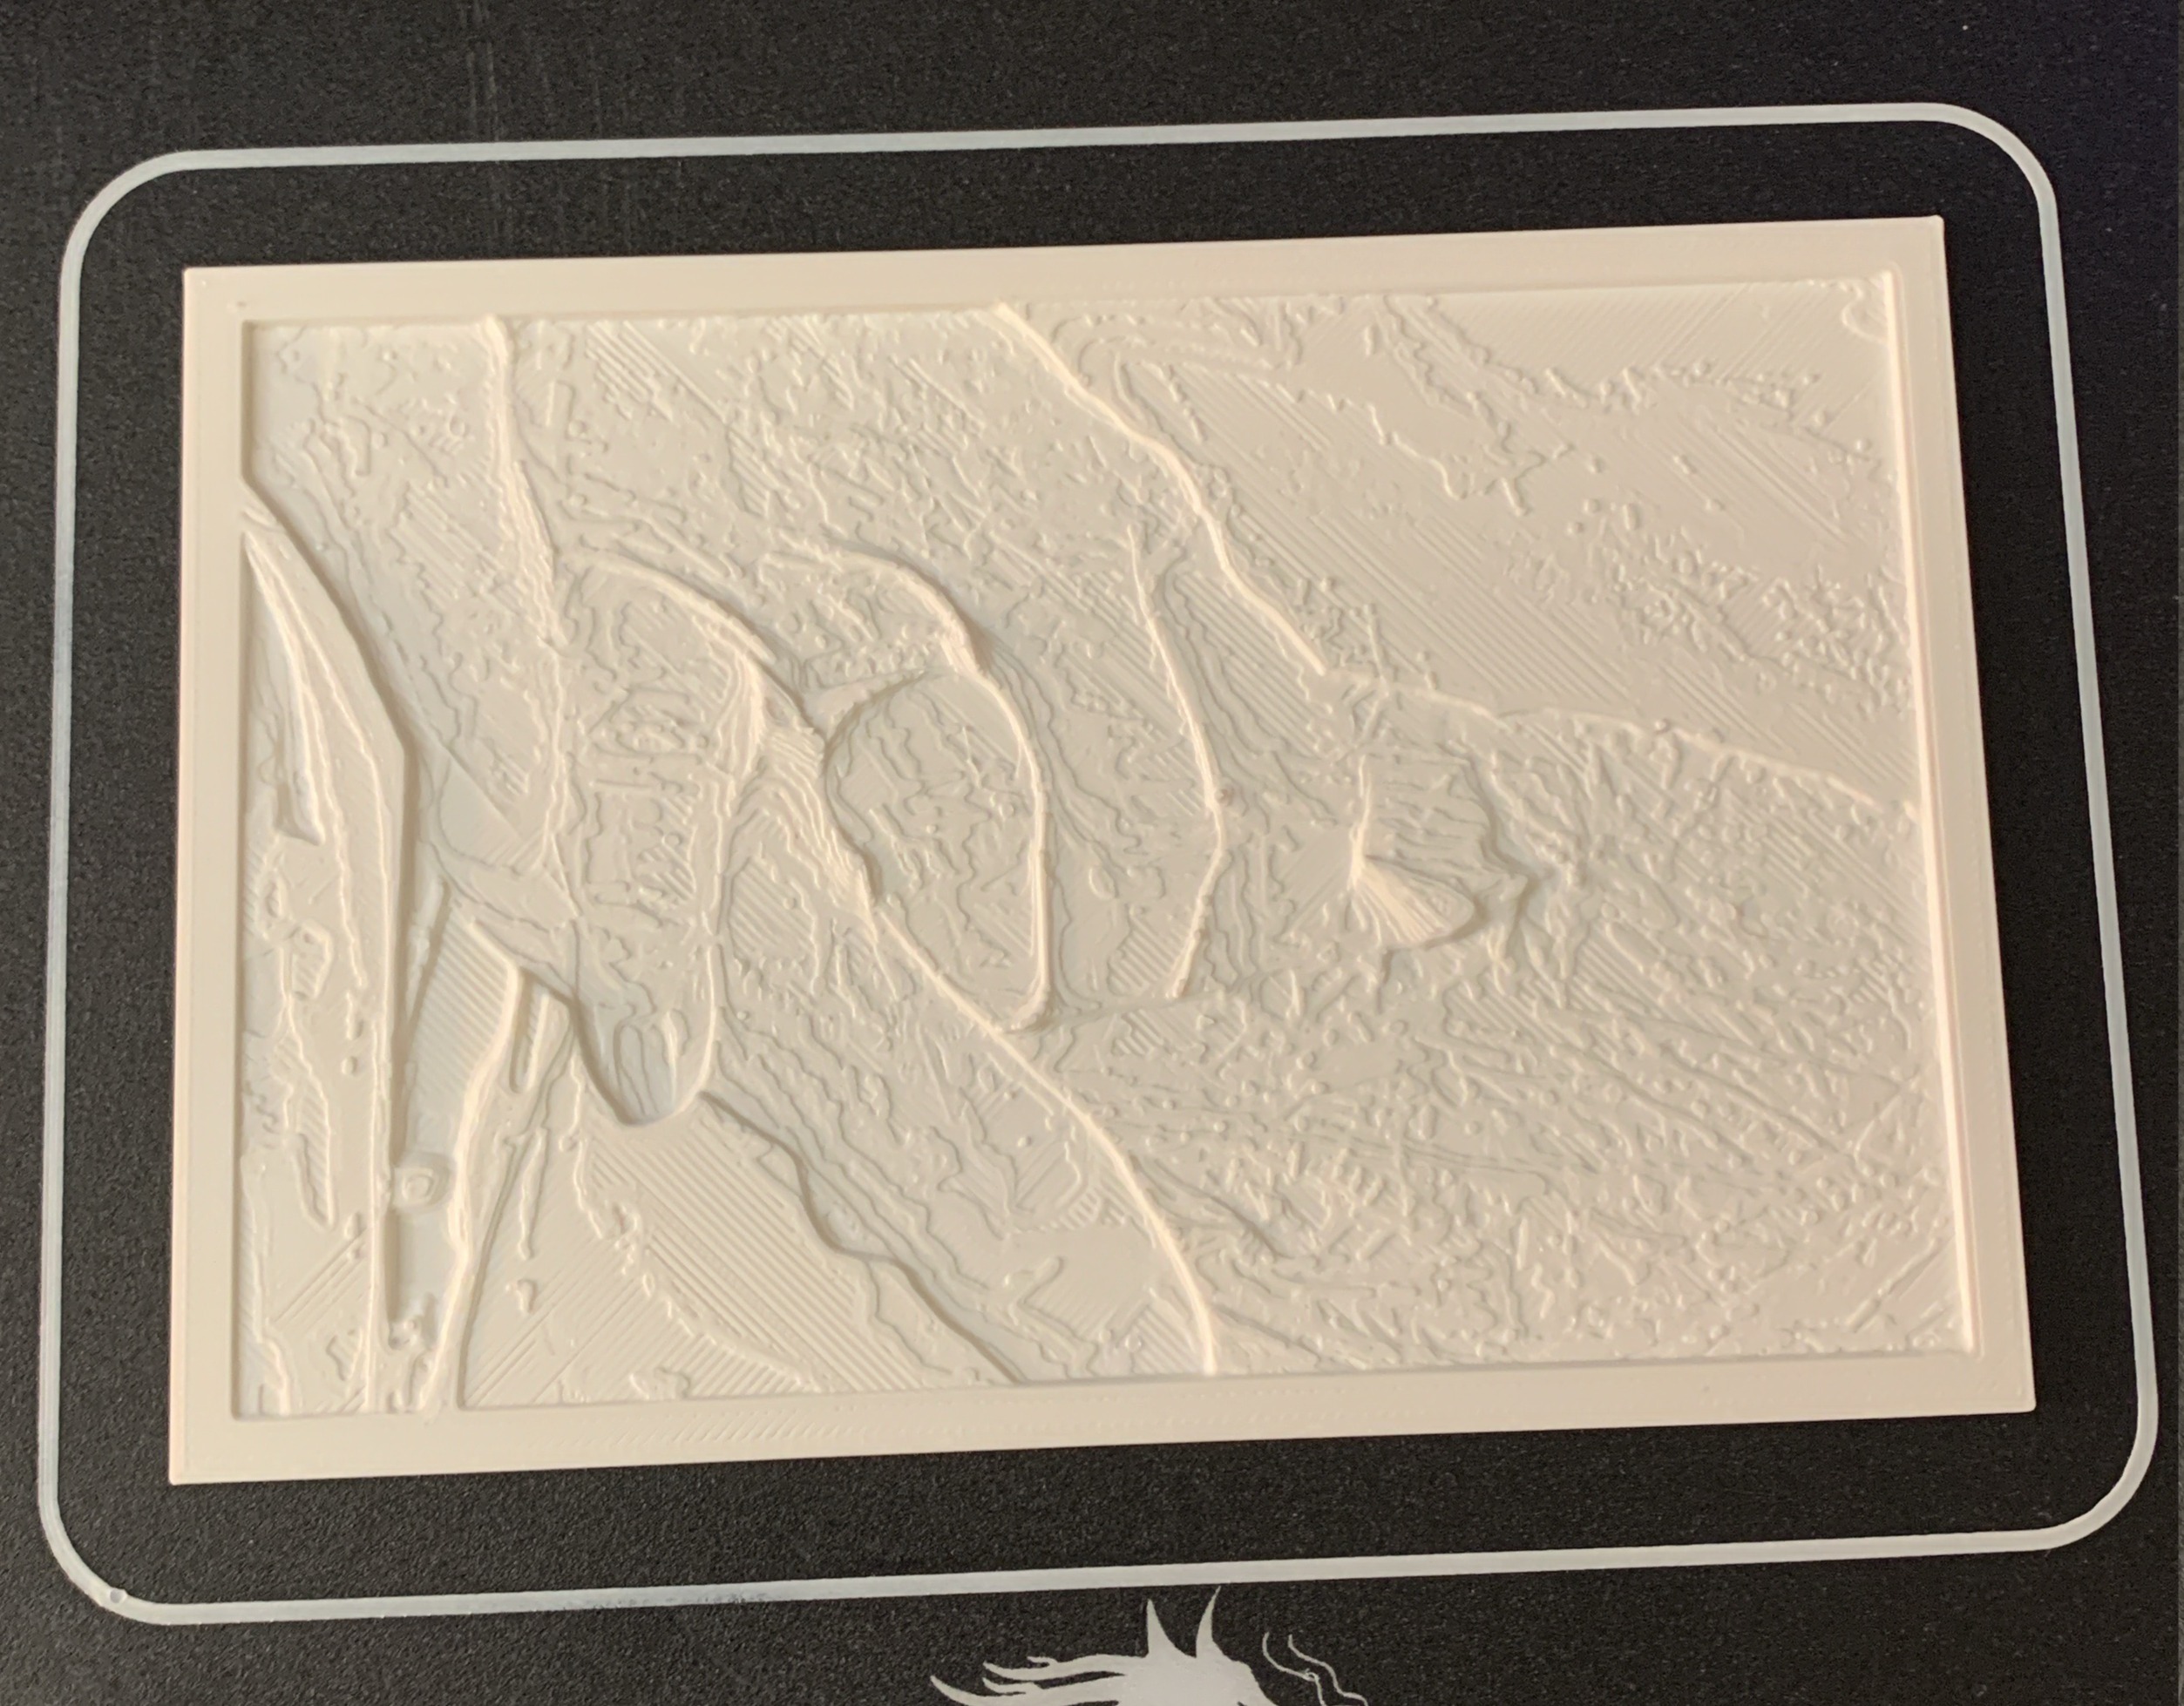
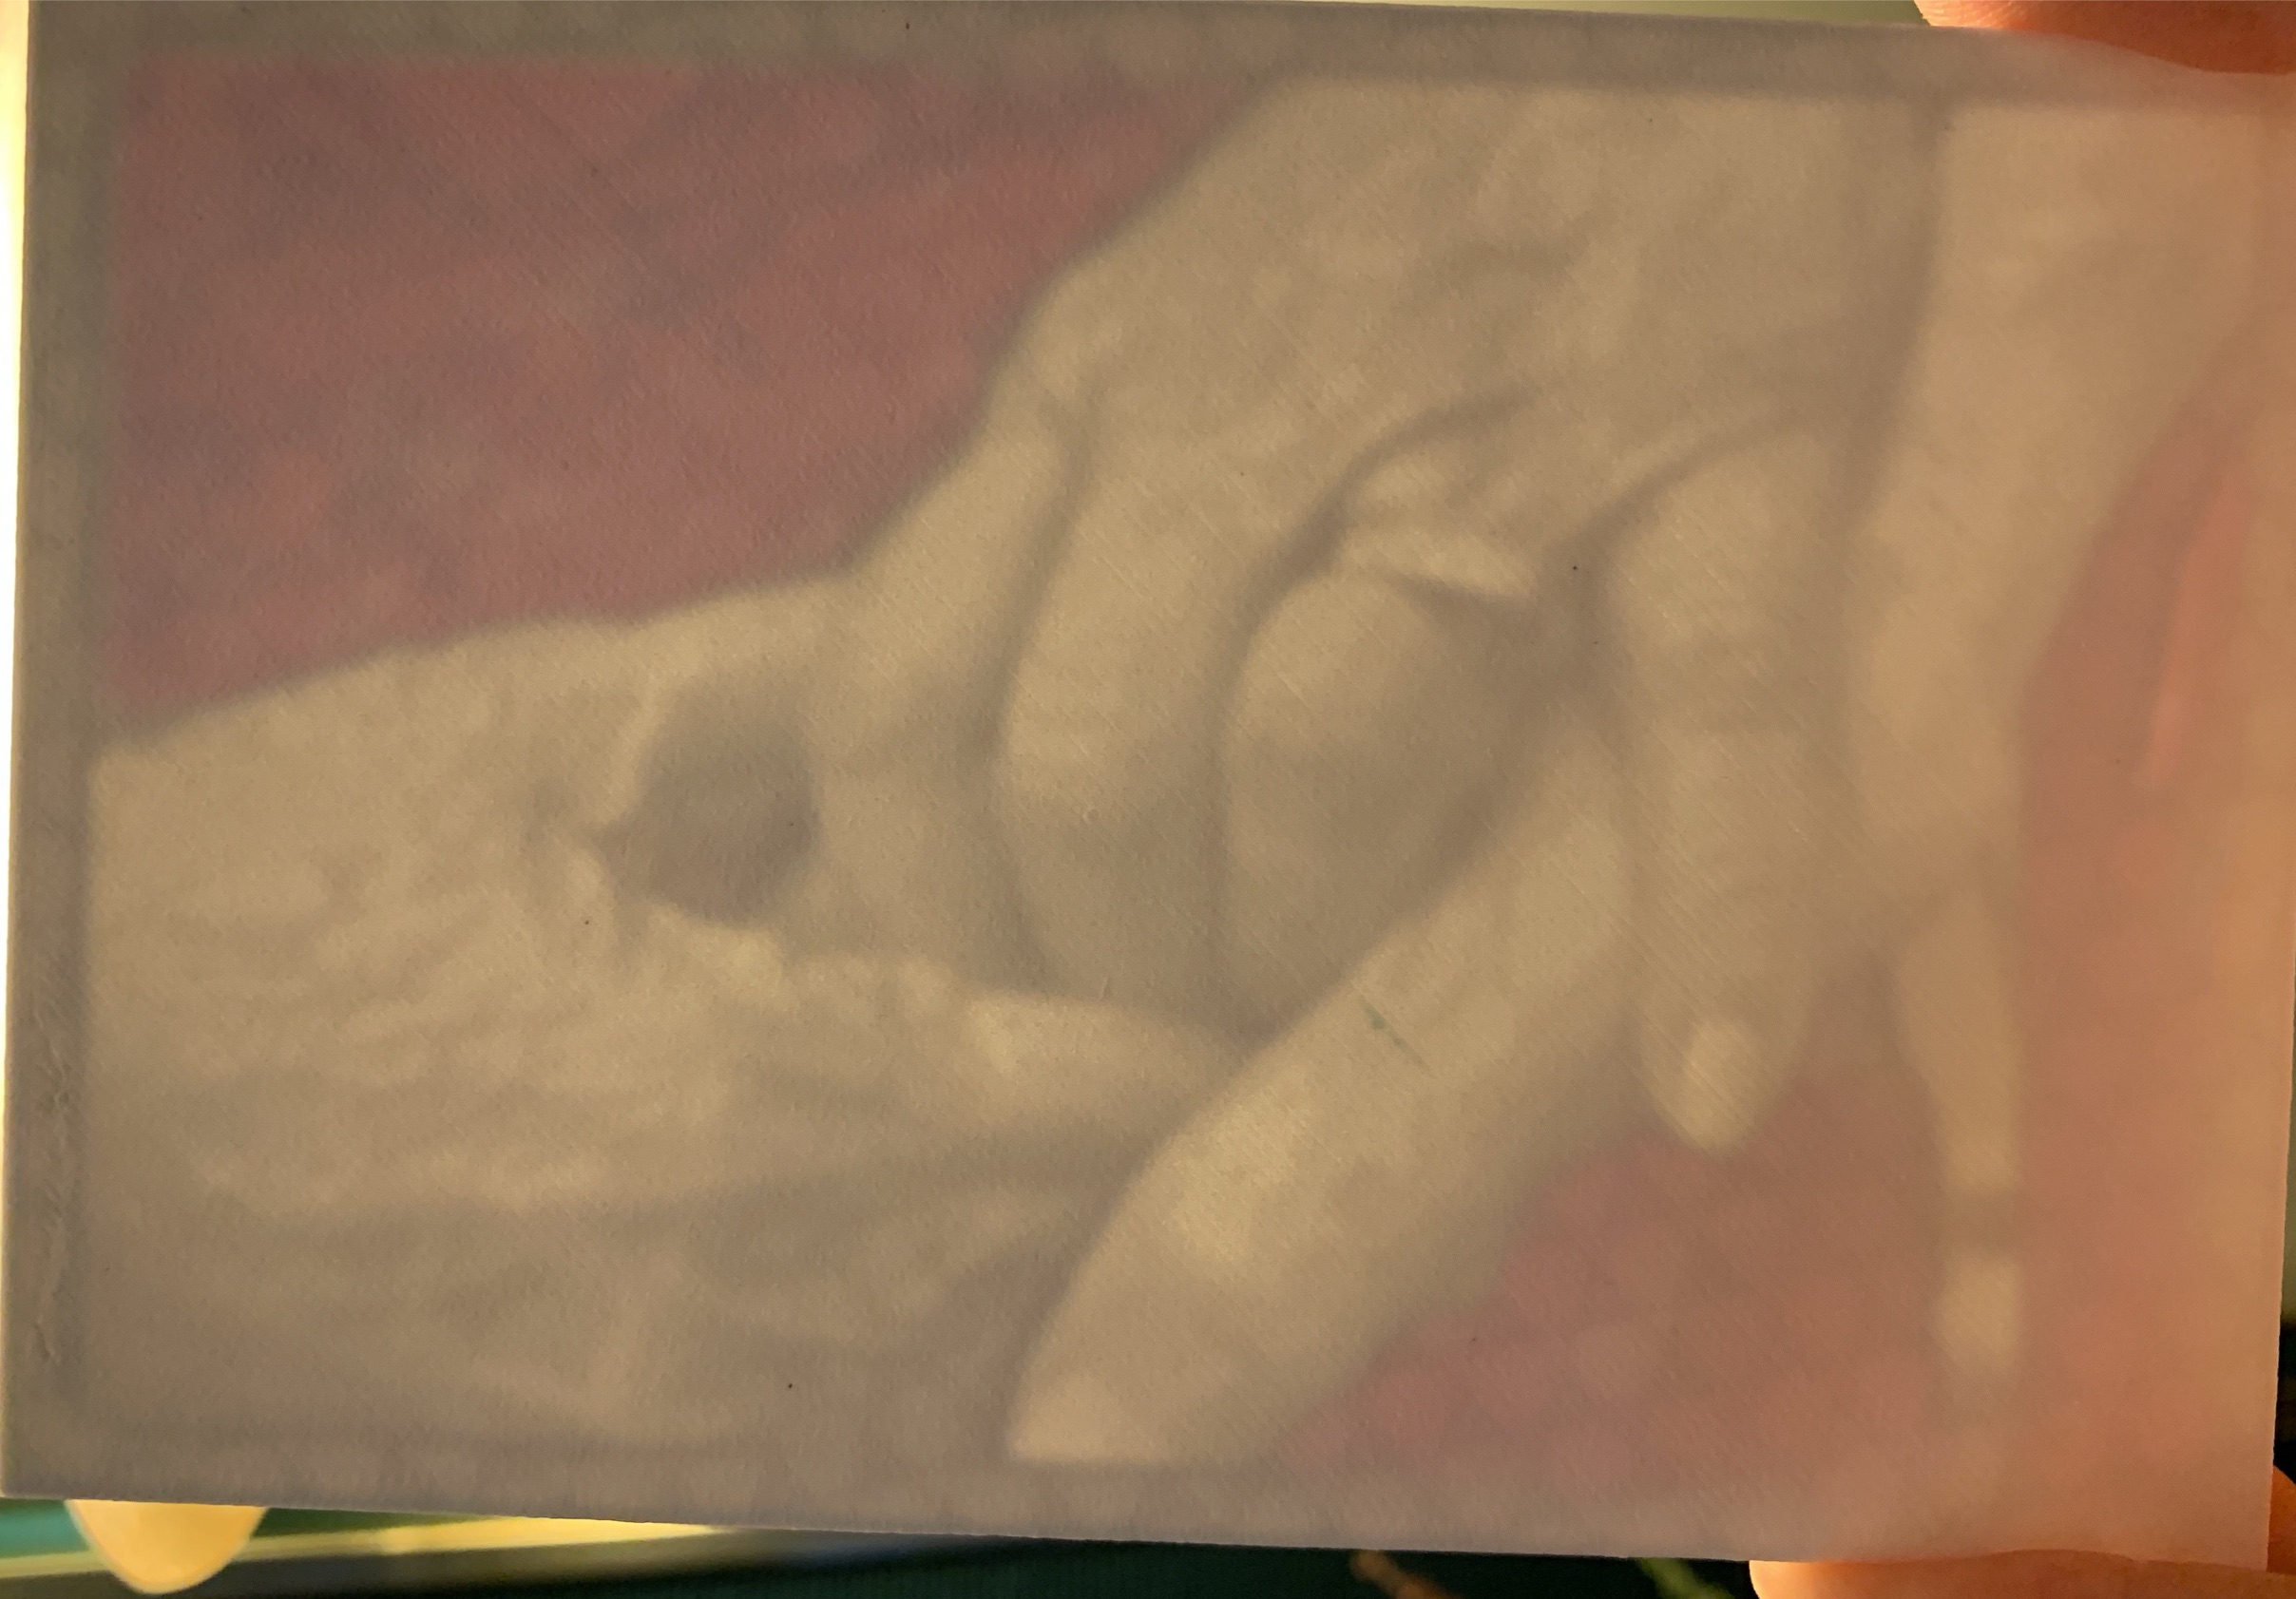
I had fun making different prints of different sizes (see one to right). Pretty cool to hold up a flat piece of plastic and then see an image show up when backlit.
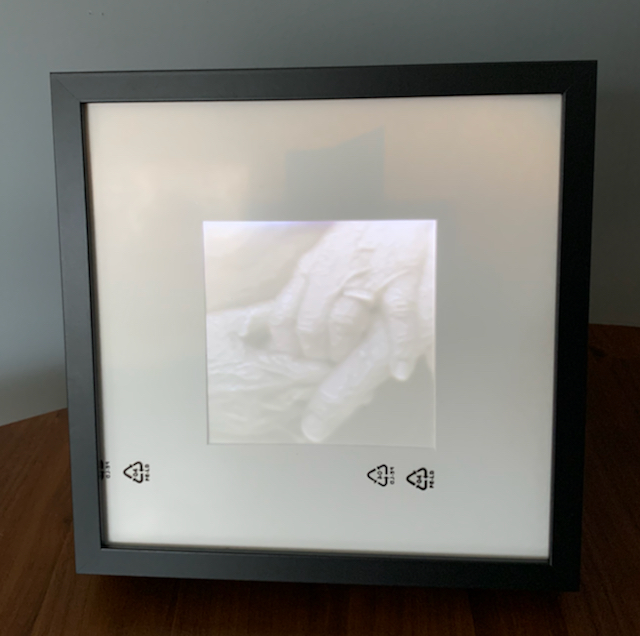
But a flat piece of plastic isn’t the end goal. I needed to frame it. And I was scratching my head how to do it. I was already looking at LED strips. When looking for frame ideas, I ran into this old video by David Watts. David was using some Ikea frames that folks use for mixing pictures and items, so it has a deep frame. Plus, one could put the image to the back of the deep frame or, yes, to the front. And when put to the front, there’s a big space behind the image. And, yes, in that space, you can put LEDs.
Inspired by the video, I bought some strip LEDs, power supplies, and some switches (and did a fun, 2 hours round-trip drive down to Ikea to pick up the frames – too impatient to have them shipped). I then laid the LEDs (cutting and wiring a few strips together), connected them to the switch and power supply, and voilá a back-lit 3D-printed lithophane.
Simple and fun
This was a simple and fun project. Well, simple concept. There was lots of tweaking and multiple iterations of the images and printouts. I even played with colorizing them (see image to right, color really made the image pop out). And the larger prints (I have a large rectangular frame and a smaller square frame), at the limits of my print bed, took at least 12 hours, so my printer was going all day long for many days in a row as I iterated (also known as ‘making mistakes’ or ‘being unsatisfied easily’).
I had set out to make two, but the frames were so cheap, I will be making six – three big and three less big (wouldn’t say the smaller frame is small). So that’s gifts for everyone (tho I need some more switches and chargers, haha).
*Actually, due to some eccentricity of mine, my year-long challenge projects are from the 15th to 15th of the month, not the whole calendar month. This one ended on time. And BTW, I have only three more months to go to complete the challenge year. Wow.